


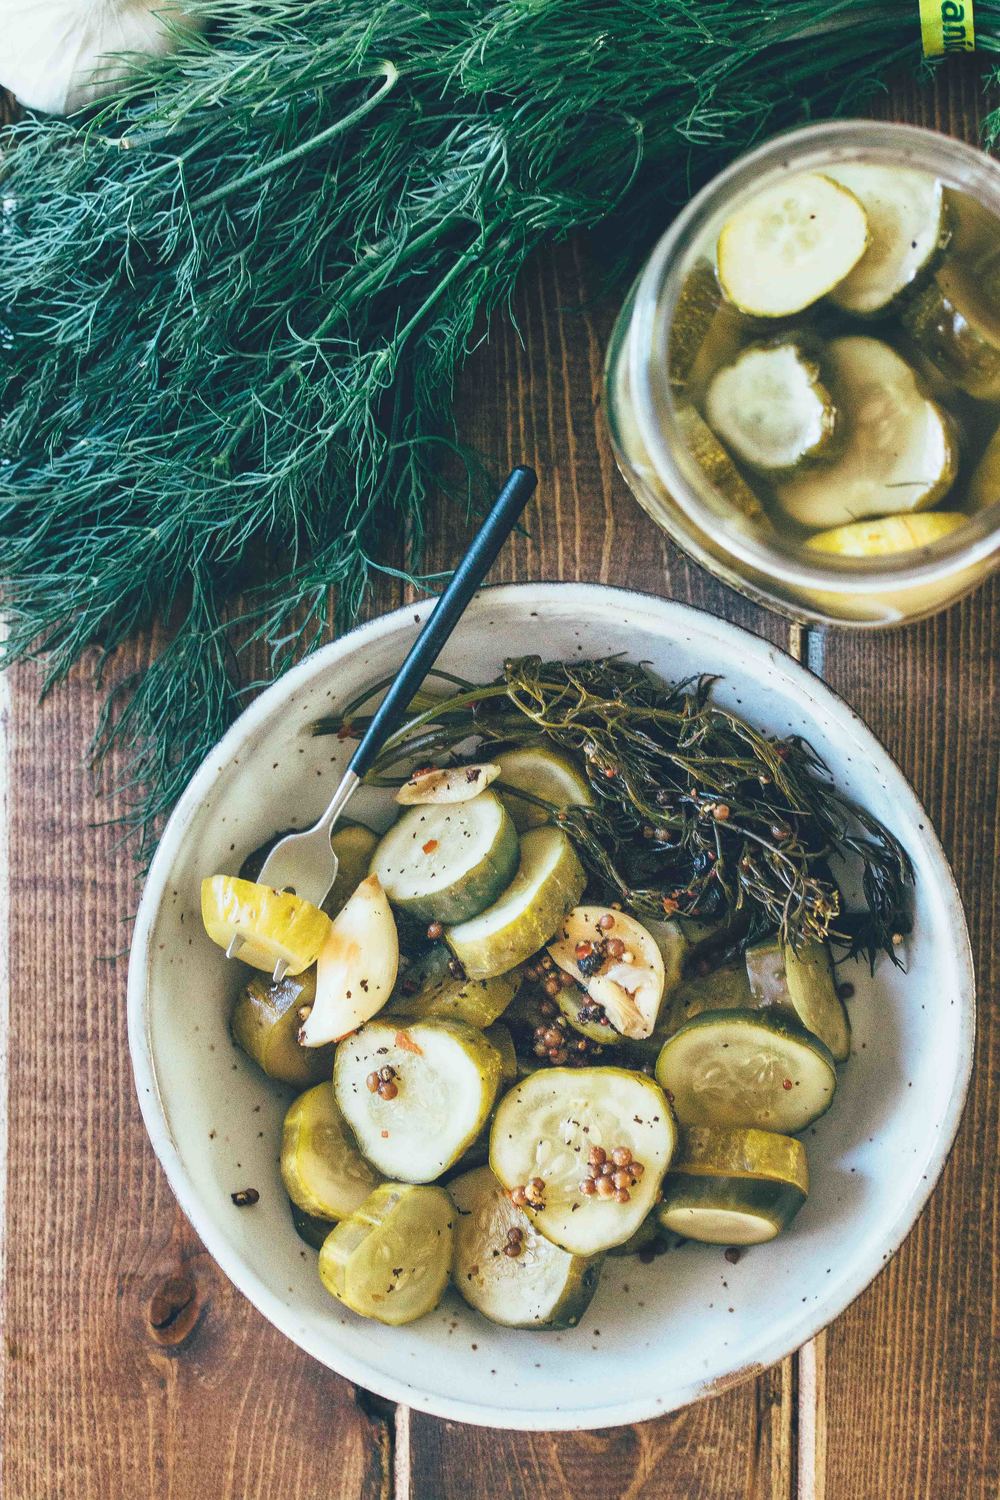


I’m so happy to finally have a successful CRUNCHY pickle to share here on BRG.
I’ve had quite a few soggy pickle ferments. (Nothing more disappointing!) Generally they’ve occurred trying to make them without the use of pickling cucumbers. In fact, the one picture of the cucumbers without brine is from one of those attempts using hothouse cucumbers (hence the darker skins). True pickling cucumbers have a slightly lighter skin and look like this.
Although a little finesse is still required (having a proper salt brine ratio, high-tannin leaves & good home temperature), a firm “pickling” cucumber will get you much closer to success.
With just 5 days time (or thereabouts) for 2 full jars of pickles, we have had no shortage of crunchy pickles around here. Our bunless burger quotient increases tenfold during BBQ season so these have been a necessity! One pickle per burger bite, please.
Before starting the recipe:
- Always use glass jars when fermenting.
- Firm, bumpy “pickling-style” cucumbers work best for a crunchy result. Never use an overripe pickle!
- Airlocks are not a necessity but I’ve found I get more consistent results (& more predictable length of time for successful fermentation) when using them.
- Crunchy pickles require a high-tannin brine. Some high-tannin leaf options are grape leaves, oak leaves, horseradish leaves, or black tea leaves. Tea leaves are generally the easiest to come by and I’ve had great success with them — crunchy pickles and no tea-like flavor whatsoever.
- Despite using a high-tannin leaf, you still run the risk of soggy pickles if you ferment outside the ideal temperature range of 65F to 75F. This range ensures the process stays at the perfect goldilocks pace (not too fast or too slow!).
- As always, YES that much salt is needed and it is NOT a typo. Most is used up in the conversion to lactic acid during the fermentation process.
It's free!
GET YOUR COPY
Enter your email to get a FREE printable PDF of this recipe! You'll also get my weekly letters designed to help you successfully & sustainably transition to a Paleo-style diet.
Get a printable PDF of the recipe
Fermented Dill Pickles
Yields: 2 quarts
7 c. filtered water
4 garlic cloves, smashed
25 whole black peppercorns
2 tbsp. whole coriander seeds
1/2 tsp. yellow mustard seeds
(use black mustard seeds if you want a spicier brine)
1/2 tsp. red pepper flakes
4 tbsp. sea salt
1 black tea bag
3(ish) lb. “pickling-style” cucumbers, sliced to ~ 1/2″
4 4″-lengths of fresh dill
Directions:
Prepare the fermenting brine by adding the water, garlic cloves, black peppercorns, coriander seeds, mustard seeds, red pepper flakes, and sea salt to a large stock pot. Place over medium heat and stir occasionally until the sea salt has completely dissolved. Remove from the heat and allow to cool completely to room temperature, about 2-4 hours.
Once the brine has cooled:
Cut a small slit in the tea bag and divide the tea leaves between the two quart jars (just sprinkle it onto the bottom). Divide the sliced cucumbers evenly between jars. You want to pack them fairly full but the same brine can be used with the jars as little as halfway full of pickles. Tuck 2 lengths of fresh dill into each jar amongst the cucumber slices. Then fill each jar with the brine, leaving about 1″ headspace free at the top of each. Use a spoon to portion the whole spices from the brine into the jars (most will have sunk to the bottom of your pot). Also divide the garlic cloves evenly between the jars. Ensure the pickles are fully submerged and not sticking out above the liquid. Discard any leftover brine.
To ferment:
If using an airlock (as shown above), seal the jars tightly. If not using an airlock, either cover with a coffee filter/tea towel & rubber band OR screw a regular 2-piece metal lid on loosely (to allow gases to escape). Note: if not using an airlock, I would avoid storing this ferment near others (like kombucha, etc) or cross-contamination can happen and may affect the timeframe required and possibly the resulting flavor.
Place in a spot away from sunlight or extreme warmth (like an oven). A consistent room temperature between 65-75F is ideal. I often use a spot in the back of one of my kitchen cupboards. Leave for 5-7 days to ferment. Check after 4 days for flavor and to make sure bubbles are forming (a sign that proper fermentation is happening). The brine should begin to turn a bit cloudy. If making these in summertime, your home temperature will generally be higher so the fermentation will happen quicker. In July and August, my pickles have been perfect at 5 days. If it’s winter, you’ll likely need closer to 7 days.
Refrigerate the finished pickles for up to a month.
