


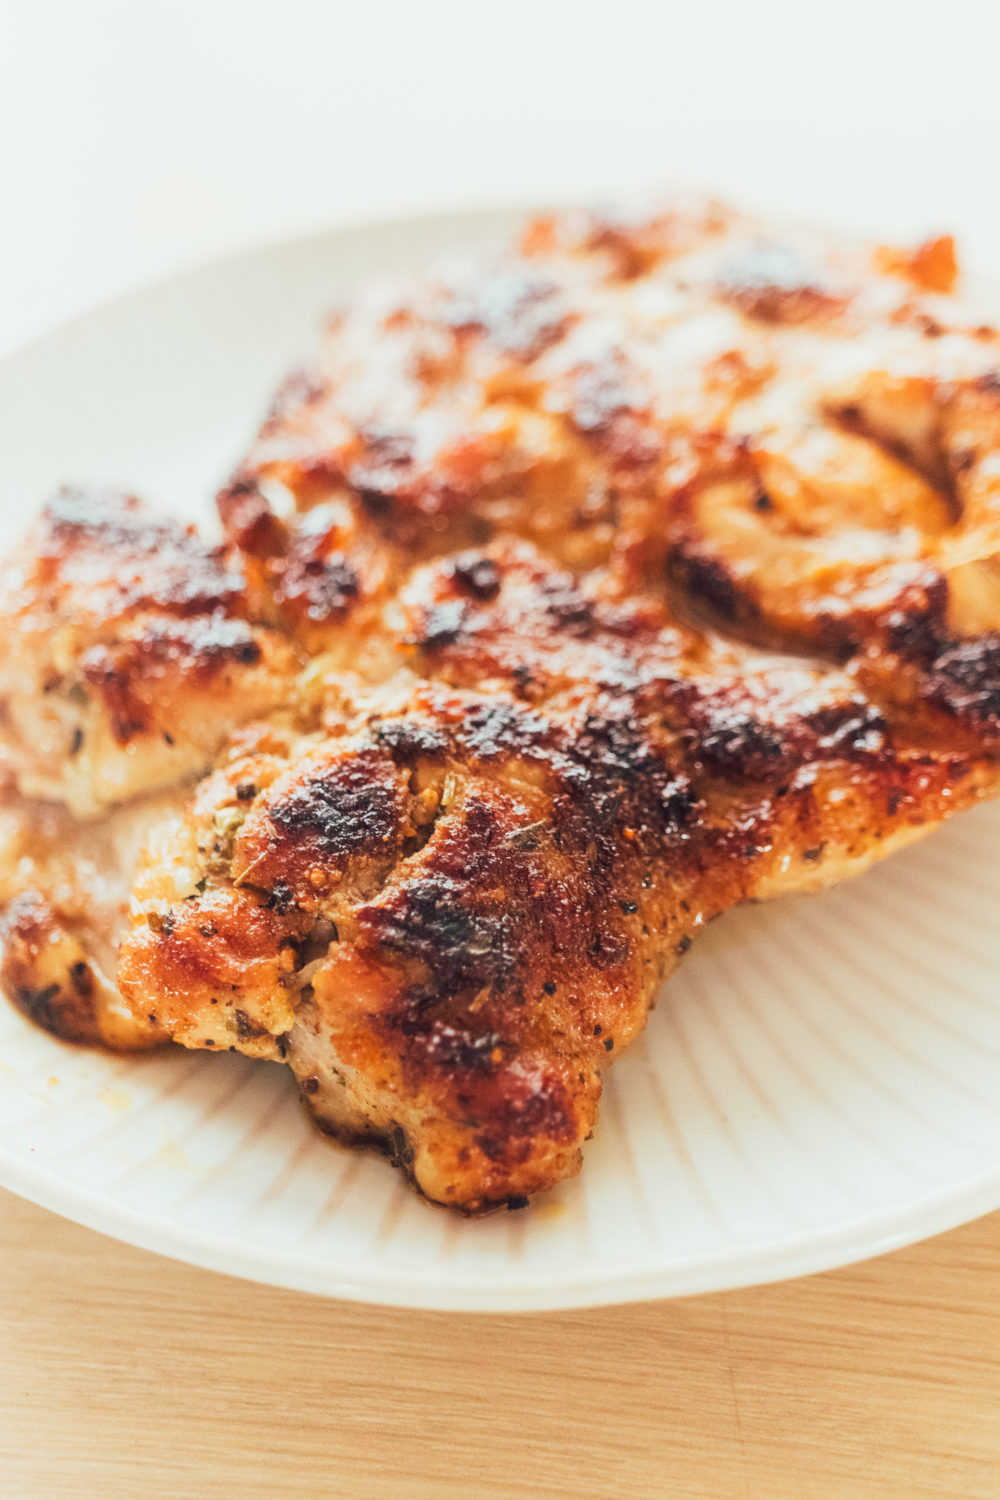


Chicken thighs happen AT LEAST once a week in the BRG home.
They are so dead simple. I prepare them fairly neutrally and slather various sauces on top.
Since they’re dark meat and take a tad longer to cook, it can be tricky to get the searing just right.
Most of my cast iron cooking uses a medium-high to high heat, which yields great results with a lot of different meat and veggies. But going slightly lower (about medium heat) creates the perfect environment for boneless thighs to fully cook through and also get a great dark golden sear.
Cast iron is the very best for getting a dark sear but unfortunately, it does not heat evenly. This means you’ll always have a “hot spot” in the center of the pan where the flame or burner is coming into contact the most (this is exaggerated in cases of gas burners). Rotate the meat *before* flipping to help get an even sear across all surfaces.
You can read more below about choosing a neutral seasoning. But essentially I lean towards those that contain garlic powder and onion powder. There is a fair amount of naturally occurring sugar in both, which really help with browning.
Get the meat out of the fridge well before cooking! Pat them dry and let the seasoning sit on the meat for at least 10 minutes. This gives the seasoning time to react with the surface of the meat and begin to draw moisture out. This helps the seasoning to stick and also allows for much deeper browning.
Browning = flavor. All the steps below are intended to encourage the maillard reaction to have the best chance possible.
It's free!
GET YOUR COPY
Enter your email to get a FREE printable PDF of this recipe! You'll also get my weekly letters designed to help you successfully & sustainably transition to a Paleo-style diet.
Get a printable PDF of the recipe
Cast Iron Boneless Chicken Thighs
Yields: 4 servings
4 boneless, skinless chicken thighs
Neutral seasoning of choice: all seasons OR a combo of onion & garlic powders are my two go-tos
Sea salt & black pepper (if your other seasoning is salt free)
High-heat cooking fat or oil
Directions:
- Remove the chicken from the refrigerator 10-15 minutes before cooking. Pat dry with paper towels. Coat liberally with the seasoning, sea salt, and black pepper. Be sure to shake out the thighs to fully expose any crevices and add an even layer of seasoning to the entire surface of the meat for best flavor.
- (Note: on choosing a seasoning, ensure what you use is sugar-free and has onion powder, garlic powder (or both) to encourage browning.)
- Heat a wide cast iron skillet over medium heat. Once hot, add your cooking fat. The amount needed will vary by pan size but you do want a thin layer spread across about 75% of the pan (see above pictures).
- Add the chicken thighs to the hot pan. Cook in batches, if needed, as to not crowd the meat. About 2″ space surrounding the meat encourages air circulation and less steam (steam prevents browning). Crowding the pan also drops the temperature significantly, which also discourages browning — not good.
- After about 4 minutes on the first side, rotate the meat to bring the outer side of the meat to the inner part of the pan. Cast iron does not heat very evenly so the inner part of the pan (where the heat hits directly) will always be hotter.
- After about 2 more minutes on the first side, flip the meat to cook the second side. Repeat the same process here, cooking for 4 minutes before rotating the meat to get an even sear.
- Optionally, you can use a cast iron press to get better contact across the bottom surface. This is not necessary for searing the first side since initially, the meat is very relaxed (it is also not recommended for the first side because the press can pull the seasoning off the uncooked side!). After cooking the first side, the heat causes the meat to seize up slightly, which makes it slightly more difficult to evenly sear the second side, since it is no longer as flat. A cast iron press helps to flatten the meat again and get a better full sear on the second side. Additionally, the flatter the meat lies in the pan, the faster and more evenly it will cook through the center.
- After cooking both sides, remove the meat from the pan to a plate lightly tented in foil to rest. Rest the meat for 5 minutes before serving.
- Note: if batch cooking to reheat later, set the heat to medium-high. Cook a total of about 4 minutes per side. The meat will not be completely cooked inside but will finish cooking when it is reheated later. This helps to prevent dry meat since that can happen when reheating fully cooked meat.

I used this recipe in place of rotisserie chicken for white chicken chili and will use it regularly when cooked chicken is called for in recipes. I tried a mixture of garlic powder, cumin, paprika, salt, and fresh ground pepper that worked well. It’s quick, easy, succulent.